In a world where security and privacy are paramount, the DIY spy camera has emerged as a popular solution for individuals looking to bolster their home security or keep an eye on loved ones. Whether you want to monitor your home while you’re away, check in on your pets, or ensure the safety of your children, a DIY spy camera can serve multiple purposes. This article will guide you through the essential steps to create your own spy camera, covering everything from the tools you need to legal considerations and creative applications.
As technology continues to evolve, the accessibility of cameras and recording devices has made it easier than ever to build a functional spy camera at home. With a bit of creativity and technical know-how, you can assemble a device that meets your specific needs. Let’s dive into the intricacies of designing and implementing your own DIY spy camera.
1. Understanding the Need for a DIY Spy Camera Today
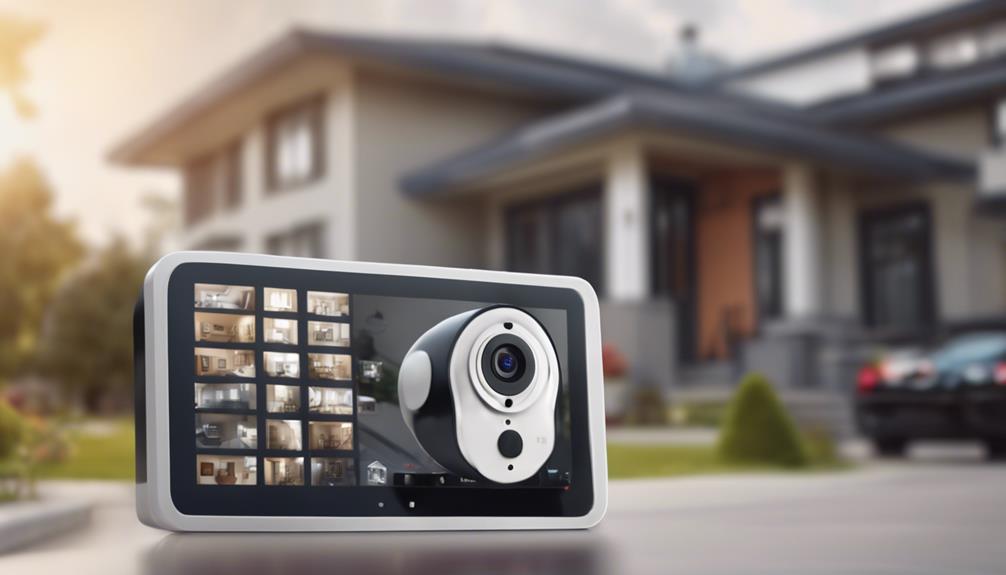
The surge in home burglaries, package thefts, and personal safety concerns has prompted many to consider DIY spy cameras as an effective preventive measure. These devices provide peace of mind by allowing users to monitor their surroundings when they are not physically present. Moreover, they can serve as a reliable way to keep an eye on children, pets, or even elderly family members who might need assistance. The versatility of a DIY spy camera makes it an attractive option for those looking to enhance their home security.
Additionally, the increased availability of technology such as miniaturized cameras and affordable components facilitates the creation of a personalized security system without breaking the bank. Unlike off-the-shelf solutions, a DIY approach allows users to customize their camera according to their specific needs, whether it be to blend seamlessly with the home décor or achieve certain features like remote access or motion detection.
2. Essential Tools and Materials for Your Project
Before diving into the construction of your DIY spy camera, gathering the right tools and materials is essential for a smooth workflow. You will typically need a small camera module, such as a Raspberry Pi camera or a USB webcam, along with a power source, such as a battery or a plug-in adapter. Other materials may include a microcontroller like an Arduino, a Wi-Fi module for remote access, and various wires and connectors to facilitate assembly.
In addition to hardware components, having a good set of tools is crucial. Basic tools like a soldering iron, screwdrivers, and pliers will make it easier to assemble the components. Furthermore, access to a computer for programming the microcontroller and testing your setup will help you fine-tune your design, ensuring that it operates smoothly once completed.
3. Choosing the Right Camera for Your DIY Setup
Selecting the right camera for your DIY spy camera setup is vital to ensure that it meets your specific needs. Factors to consider include resolution, size, and connectivity options. For instance, if you want high-quality video, a camera with at least 1080p resolution would be ideal. On the other hand, if you’re aiming for discreet surveillance, a smaller camera module that can be easily concealed will be more suitable.
Another essential aspect is connectivity; some cameras can connect to Wi-Fi networks, allowing for remote monitoring via a smartphone or computer. Cameras with built-in motion detection and night vision capabilities can also enhance your spying capabilities, making it easier to capture relevant footage when activity occurs, even in low-light conditions.
4. Step-by-Step Guide to Building a Spy Camera
To create your DIY spy camera, start by gathering all your materials and arranging your workspace. Begin by assembling the camera module with the microcontroller, ensuring that all connections are secure. If you’re using a Raspberry Pi or Arduino, follow online tutorials to set up the software and connect to the camera module.
Once the hardware setup is complete, configure the software settings to enable video recording and streaming. Test your camera by checking the video feed and adjusting the angles as necessary. Ensure the power source is integrated properly to keep your camera running continuously, or set it up for battery operation if you require mobility.
5. Concealment Techniques for Better Camouflage
A key aspect of a successful spy camera is its ability to blend into its surroundings, making concealment techniques vital. One popular method is to hide the camera within everyday objects like smoke detectors, wall clocks, or even house plants. This approach not only keeps the camera discreet but also minimizes the chances of detection by unwitting observers.
You can also utilize paint or fabric that matches the environment to camouflage the camera more effectively. If your camera is visible, consider using a small enclosure that resembles ordinary household items. Creative concealment can be the difference between a successful recording and a caught camera, so invest time in making your setup as inconspicuous as possible.
6. Legal Considerations Before You Start Recording
Before embarking on your DIY spy camera project, it’s imperative to understand the legal implications surrounding surveillance. In many jurisdictions, recording someone without their consent can lead to severe legal consequences. Familiarize yourself with local laws regarding privacy and surveillance to avoid infringing on the rights of others.
In general, it is advisable to limit your recordings to your personal property and notify individuals that they are being monitored when necessary. This not only ensures compliance with the law but also fosters transparency and trust with those around you. When in doubt, consult a legal expert to clarify any uncertainties regarding your intended use of the spy camera.
7. Enhancing Your DIY Spy Camera’s Functionality
Once your DIY spy camera is up and running, consider ways to enhance its functionality. One effective way is to implement motion detection, which allows the camera to start recording only when it senses movement, thus saving storage space and battery life. Many camera modules come with libraries or software that can help you achieve this feature with minimal programming knowledge.
Additionally, explore remote access options to view live footage on your smartphone or computer. Utilizing a cloud service or designing a local server can enable you to monitor your camera from anywhere, providing added convenience and peace of mind. Adding features such as time-lapse recording or alerts for detected movement can also improve the effectiveness of your surveillance solution.
8. Common Mistakes to Avoid When Making Your Camera
Creating a DIY spy camera can be an exciting project, but it comes with its share of pitfalls. One common mistake is neglecting to test your camera in various lighting conditions before finalizing the setup. Poor lighting can severely impact the quality of the footage, so ensure that your camera performs well in both bright and low-light environments.
Another frequent error is overlooking power management. Ensure that your camera has a reliable power source and consider the implications of continuous recording on battery life. Failing to plan for power can lead to missed recordings or downtime, defeating the purpose of your surveillance efforts. Taking these considerations into account will help ensure a successful DIY spy camera project.
9. Tips for Maintaining and Troubleshooting Your Device
Once your DIY spy camera is operational, ongoing maintenance is crucial for optimal performance. Regularly check the camera lens for obstructions, such as dust or debris, which can significantly degrade image quality. Ensure that the software and firmware are updated to take advantage of any improvements or new features.
When troubleshooting your camera, pay attention to the power source and connections first, as these are common sources of issues. If you experience connectivity problems or video feed issues, restart the camera and router, if applicable. Documenting any issues you encounter and their solutions can also be a useful practice for future reference.
10. Creative Uses for Your DIY Spy Camera at Home
The applications of a DIY spy camera extend beyond traditional security monitoring. For example, you can use it to keep an eye on your pets when you’re away from home, ensuring they are safe and not engaging in destructive behavior. Alternatively, it can serve as a nanny cam to monitor caregivers and ensure the well-being of your children.
Moreover, a DIY spy camera can be used to capture time-lapse footage of projects or natural phenomena around your home, from garden growth to home renovations. The versatility of a spy camera allows you to harness its capabilities for various creative projects, enriching your life in unexpected ways.
Creating a DIY spy camera can be a rewarding project that not only enhances your security but also sparks your creativity. By understanding the necessary tools, legal considerations, and functionality enhancements, you can build a device tailored to your unique needs. As with any DIY project, attention to detail and continuous improvement will yield the best results. With the right approach, your DIY spy camera can become an invaluable part of your home security toolkit, providing peace of mind and a sense of control over your living environment.
