
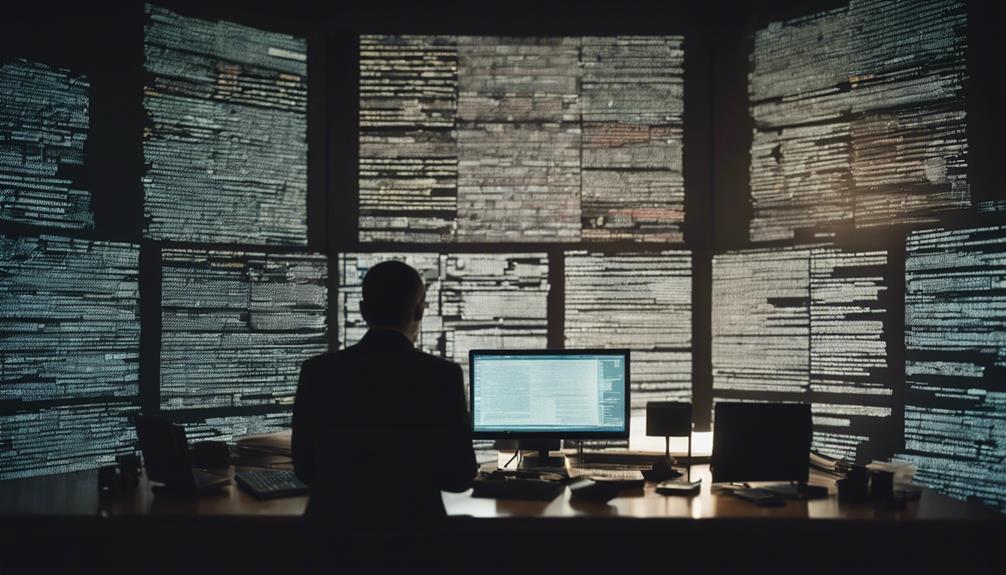
In a world where security concerns are on the rise, homeowners are increasingly turning to innovative solutions to safeguard their properties and loved ones. One such solution is the DIY spy camera, an accessible project that allows individuals to create a surveillance system tailored to their specific needs. This article will explore the benefits of a DIY spy camera, the tools required for building one, and how to effectively conceal and maintain it. By empowering yourself with the knowledge to create your own spy camera, you can enhance your home security and gain peace of mind.
Why a DIY Spy Camera is Perfect for Every Homeowner
A DIY spy camera offers a unique blend of customization and affordability that makes it an ideal choice for homeowners. Unlike commercially available options, a DIY version allows you to tailor the specifications to meet your specific security requirements. Whether it’s monitoring your home while you’re away, keeping an eye on your children, or ensuring the safety of your property, a DIY spy camera can be designed to suit your individual needs, making it a perfect solution for every household.
Moreover, creating your own spy camera can significantly reduce costs compared to purchasing pre-assembled systems. Many commercially available cameras come with a hefty price tag, not to mention ongoing subscription fees for cloud storage. By sourcing the components yourself, you can create a high-quality surveillance system at a fraction of the cost, allowing you to allocate your budget elsewhere while still enhancing your security measures.
Essential Tools You Need for Your DIY Spy Camera
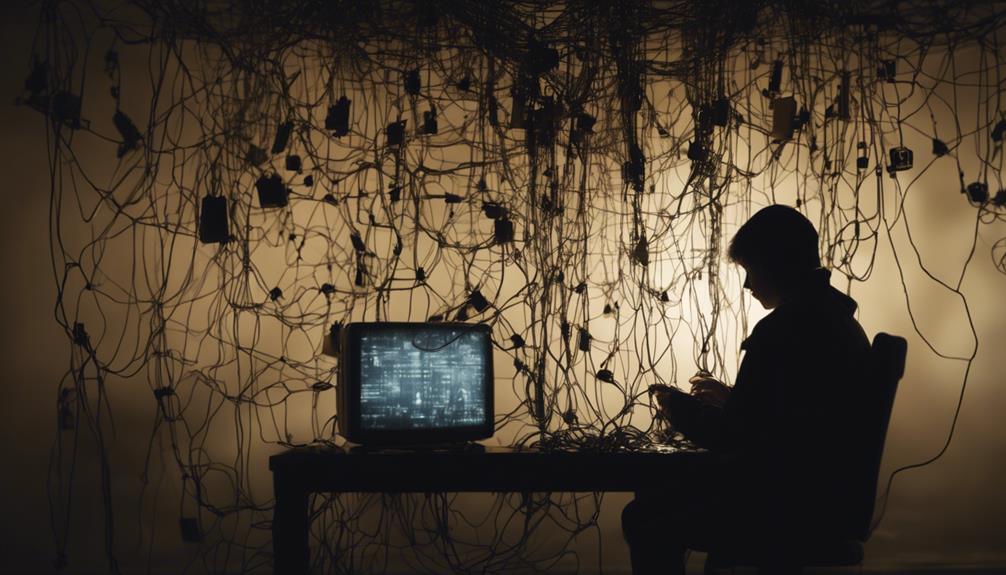
Before you embark on your DIY spy camera project, it’s crucial to gather the right tools. Essential equipment includes a soldering iron for connecting components, a small screwdriver set for assembly, and a compatible camera module, such as a Raspberry Pi camera or a webcam. Depending on your design, you may also need a microcontroller board for processing, wires for connections, and a power supply to keep everything running smoothly.
In addition to these primary tools, having a multimeter can be invaluable for troubleshooting electrical connections, while a hot glue gun can help secure components in place. Make sure to also have a sturdy work surface and proper lighting to enhance visibility while you work. Investing in these tools will not only ease the building process but also improve the overall quality and reliability of your DIY spy camera.
Step-by-Step Guide: Building Your Own Spy Camera
Building your own spy camera involves a systematic approach, starting with designing your setup. First, decide on the camera type and its intended location. Sketch a simple diagram of how the components will connect, including power sources and any additional features like motion sensors. Once your plan is in place, gather all components and prepare your workspace.
Next, assemble the camera by connecting the camera module to the microcontroller. Follow the provided instructions for your specific components, ensuring all connections are secure. Once assembled, install the necessary software to enable the camera functionality. After testing the camera to ensure it records properly, the final step is to camouflage your device, enhancing its effectiveness as a spy camera.
Choosing the Right Components for Your Spy Camera
Selecting the right components is critical to the performance of your DIY spy camera. Start with the camera module; options like Raspberry Pi Camera or USB webcams are popular due to their versatility. If you need high-resolution video, look for modules that offer at least 1080p resolution. Additionally, consider whether you want your camera to have night vision or low-light capabilities, as these features will enhance its effectiveness in various environments.
Next, choose a microcontroller that complements your camera module. A Raspberry Pi or Arduino provides ample processing power and connectivity options. Additionally, consider including a motion sensor to trigger recordings, a Wi-Fi module for remote access, and a storage solution, such as a microSD card. The right combination of components ensures that your DIY spy camera meets your security needs without compromising on performance.
Top Tips for Hiding Your DIY Spy Camera Effectively
Hiding your DIY spy camera is crucial for its effectiveness. One of the best strategies is to disguise the camera as a common household object, such as a smoke detector, picture frame, or even a potted plant. By blending it into the surroundings, you can maintain the element of surprise while still capturing the activity you want to monitor.
Another effective technique is to position the camera strategically to take advantage of natural cover. Areas with shadows, behind furniture, or within a decorative piece can provide excellent hiding spots. Additionally, consider the angles of view and ensure that the camera has an unobstructed line of sight to the area you wish to monitor, maximizing its effectiveness without drawing attention to its presence.
Ensuring Your DIY Spy Camera is Legal and Ethical
While DIY spy cameras can enhance security, it’s vital to ensure that your surveillance practices remain within legal and ethical boundaries. Laws regarding surveillance vary widely by jurisdiction, so it’s essential to familiarize yourself with local regulations before proceeding. Generally, it’s legal to record video in public spaces or your own property, but recording audio may have stricter regulations.
Additionally, be respectful of privacy. Inform any household members that surveillance is taking place, and avoid placing cameras in areas where privacy is expected, such as bathrooms or bedrooms. Adhering to legal and ethical guidelines not only keeps you safe from potential legal issues but also fosters trust within your household.
Enhancing Your Spy Camera with Motion Detection Features
Adding motion detection to your DIY spy camera can significantly enhance its functionality. A motion sensor can trigger the camera to start recording when movement is detected, saving storage space and battery life. Many microcontroller platforms, like Arduino, offer libraries and modules specifically designed for implementing motion detection, making integration relatively straightforward.
For added convenience, consider configuring your camera to send alerts to your smartphone or email when motion is detected. This feature keeps you informed in real-time, allowing you to monitor your property even when you’re not physically present. By incorporating motion detection, you transform your DIY spy camera into a proactive security tool that responds to activity and keeps you connected.
How to Maintain and Troubleshoot Your Spy Camera
Maintaining your DIY spy camera is essential for ensuring it continues to function effectively. Regularly check the camera’s lens for dust or obstructions, and clean it gently to maintain clear video quality. Additionally, verify that all connections are secure and that the power supply is functioning correctly. Periodically reviewing recorded footage can also help you identify any potential issues with the camera’s performance.
If your camera encounters problems, such as connectivity issues or failure to record, troubleshooting is key. Start by checking the software settings to ensure they’re configured correctly. Rebooting the microcontroller sometimes resolves minor glitches, and ensuring the camera’s firmware is up to date can also help improve functionality. Keeping a troubleshooting guide handy can assist you in quickly resolving issues as they arise.
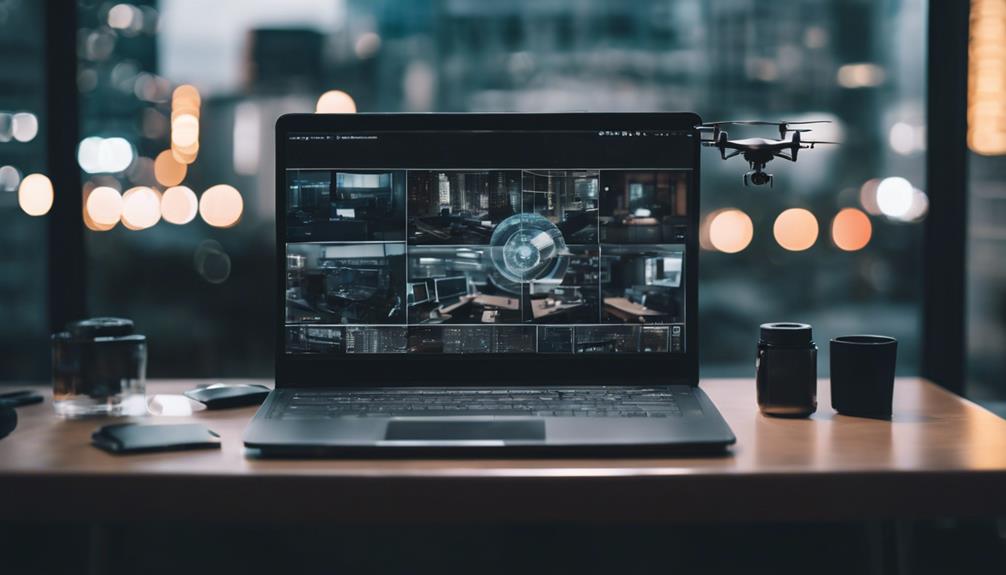
Real-Life Applications for Your DIY Spy Camera
There are numerous real-life applications for a DIY spy camera that extend beyond traditional security monitoring. For example, many pet owners use these cameras to keep an eye on their furry friends while they’re away, ensuring they’re safe and happy. Similarly, parents may use spy cameras to monitor children’s playtime and interactions, providing peace of mind without imposing on their autonomy.
Additionally, DIY spy cameras can serve as valuable tools for monitoring packages left at your doorstep or keeping an eye on home deliveries. They can also be deployed in workspaces to ensure the safety of employees and assets. The versatility of a DIY spy camera makes it a practical solution for a wide range of needs, providing homeowners with the ability to tailor their surveillance approach to their specific situations.
Building your own DIY spy camera is an empowering project that can significantly enhance your home security while also offering a sense of control over your environment. By understanding the necessary components, tools, and techniques, you can create a tailored surveillance system that meets your unique needs. Not only will this give you peace of mind, but it will also serve as a testament to your ingenuity and resourcefulness. Embrace the potential of DIY spy cameras and take charge of your home security today!

